

I'm at home this week on my own with the kids. It makes for an interesting week 'flying solo' and it can be unpredictable - so rather than schedule a face to face class this week and risk having my kids sitting under the table all night I decided to have a pause for a week - I'm sorry! Back to regular programming next week, I promise!
I'm having withdrawals from seeing you all - so I decided you might like to see what I've been doing that you can have a go at too. This is one of my favourite things from Stampin' Up! Convention last month - hand made paper feathers. They're so simple and add such a special touch to your cards or gift packaging.
Here's how I made them.
You'll need:

- Some gorgeous Designer Series Paper or card stock
- A circle punch, any diameter, I've used 1 3/4 inches
- Paper snips
- Bone folder/stylus and ruler, or Simply Scored tool
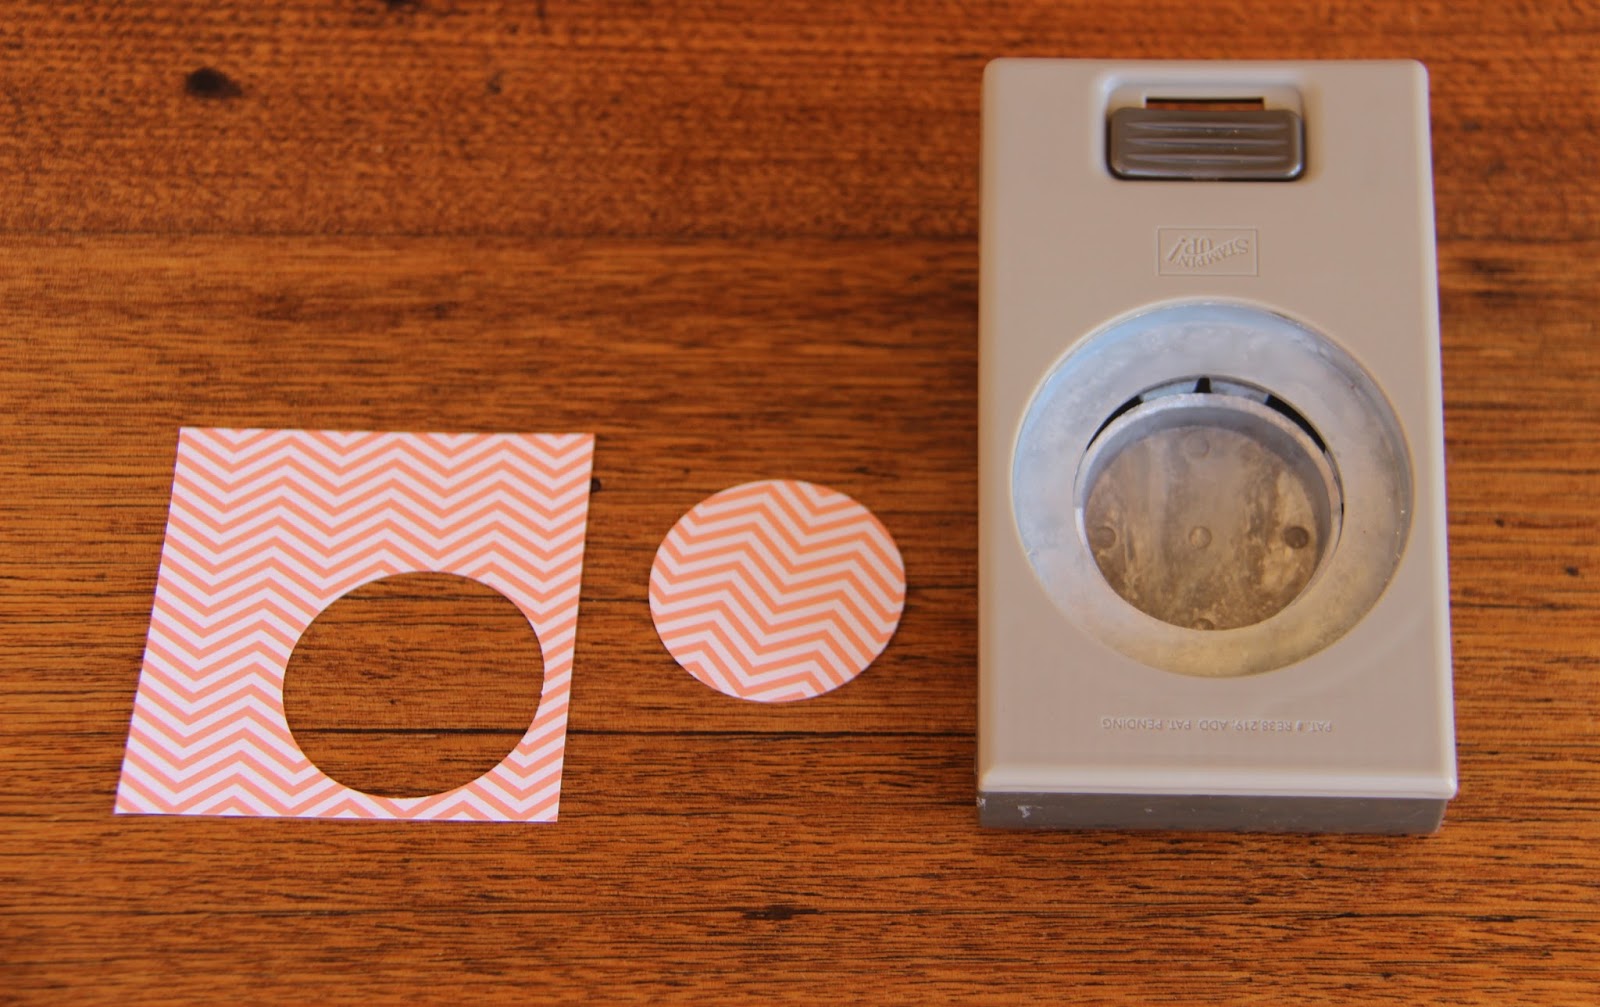
Punch a circle from your cardstock.
Then, put the circle back into the punch and cut an ellipse from one edge.


If you're clever, you can get two from one punched circle.
Take your bone folder and ruler or scoring tool and score through the middle of the ellipse, then fold.


Using your paper snips, cut in towards the 'spine' you have created at 45˚ and spaced a millimetre or two apart, all the way down both sides.


You might like to trim a 'stem' for the feather, and if you want to create a more 'willowy' asymmetrical shape for your feather you can do this with your Paper Snips also.

Run your bone folder or your fingernail down the spine of the feather to give it some 'arch', then take the feather in your fingers and give it some scrunch and curl, just a bit imperfect, like a real feather.
Ink it if you'd like to and add some sparkle with some Smooch Spritz if you like sparkle, adhere in place with a Mini Glue Dot and you're finished.

I hope you'll have a go at making some Paper Feathers - they're lots of fun and they're quick and easy - a great combination. I'd love to hear about the ones that you make - and maybe see some photos?
Until next time!
Liz.
No comments:
Post a Comment